Inside the Galaxy Projector Factory: How These Lights Are Made
 FACEBOOK
 TWITTER
 LINKEDIN
A modern galaxy projector factory is a fascinating intersection of optical engineering, electronics manufacturing, and creative design. The devices that transform our rooms into breathtaking cosmic scenes may seem magical, but they are the product of a precise and multi-stage process. From a simple concept to a finished product in a box, each projector undergoes a journey of design, fabrication, assembly, and rigorous testing. Understanding this process provides a deeper appreciation for the technology and reveals what truly separates a high-quality device from a subpar one.
This expert guide will take you on a virtual tour inside a typical galaxy projector factory. We will walk through each critical stage of production, from the initial research and development phase to the final quality control checks. We will explore how raw materials are transformed into sophisticated components and how these parts are meticulously assembled to create the final product. This behind-the-scenes look will demystify the technology and show how these enchanting lights are meticulously brought to life.
Stage 1: Research, Development, and Design (R&D)
Every galaxy projector begins its life not on an assembly line, but as an idea. The R&D phase is where market needs, technological possibilities, and artistic design converge. This is the blueprint stage that dictates everything that follows.
Market Research and Identifying Galaxy Projector Styles
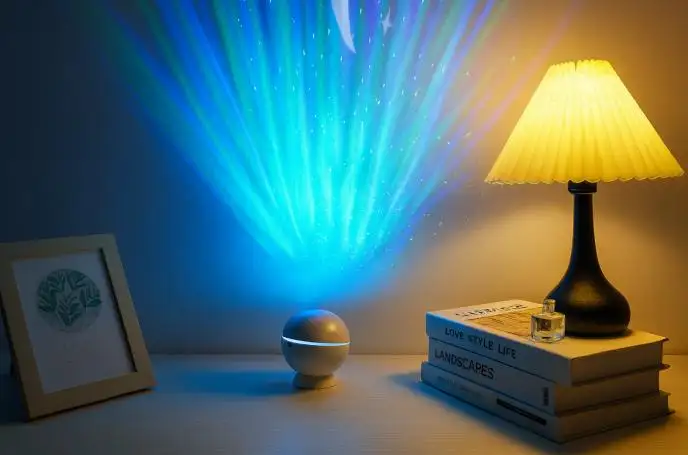
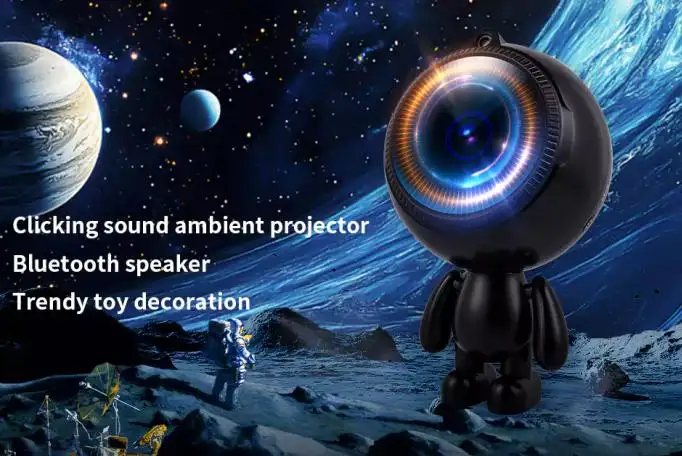
The process starts with market analysis. Engineers and designers study current trends to understand what consumers want. They analyze the popularity of different , from minimalist orbs to playful astronaut figures. They also identify demand for specific visual effects, such as the desire for a more serene instead of a traditional nebula. This research informs the core concept of the new product.
Industrial Design: Crafting the Physical Form
Once a concept is chosen, industrial designers begin to sketch the physical form of the projector. They consider ergonomics, aesthetics, and stability. The goal is to create a housing that is not only attractive but also functional. This involves creating 3D models using computer-aided design (CAD) software. Designers experiment with different shapes, materials, and finishes to create a product that looks and feels like a premium device.
Engineering the Internals: Optics, Electronics, and Mechanics
Simultaneously, a team of engineers works on the internal components.
- Optical Engineers: Design the lens assembly to ensure a sharp, clear, and wide projection. They select the right combination of lenses, filters, and diffraction gratings to create the desired visual effects.
- Electrical Engineers: Design the printed circuit board (PCB) that will act as the projector’s brain. They select the microchips, Wi-Fi or Bluetooth modules, and power management components.
- Mechanical Engineers: Design the motor system for rotation, focusing on achieving smooth, silent operation. They also design the physical housing to ensure all components fit perfectly and the device remains cool.
Prototyping and Iteration
Using the 3D models and engineering plans, the factory creates several prototypes. These initial versions are used for extensive testing. Engineers check the projection quality, test the electronic functions, and listen for any motor noise. The design is then refined based on this feedback. This iterative process of building, testing, and improving continues until the prototype meets all the required quality and performance standards.
Stage 2: Component Sourcing and Manufacturing
A galaxy projector is an assembly of many specialized components. The factory either manufactures these parts in-house or sources them from trusted suppliers. The quality of these raw components is a primary determinant of the final product’s quality.
The Light Engine: Sourcing LEDs and Laser Diodes
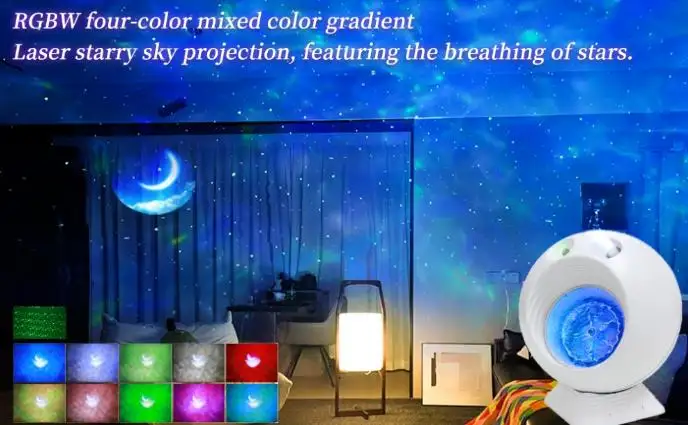
The light engine is the heart of the projector. The factory sources high-efficiency, multi-color LEDs for the nebula effect. For the stars, they source certified, low-power laser diodes that are safe for consumer use. Each batch of these components is tested for brightness, color accuracy, and lifespan before being approved for production.
The Optical Path: Manufacturing Lenses and Filters
The lenses are typically made from high-clarity acrylic or, in premium models, optical-grade glass. These are manufactured through a process of injection molding or grinding and polishing. Dichroic filters, which create color by reflecting certain wavelengths of light and allowing others to pass through, are also manufactured and coated with microscopic layers of material to achieve the perfect hues.
The Brains: Printed Circuit Board (PCB) Design and Fabrication
The PCB is custom-designed for each projector model. The factory sends these designs to a specialized fabrication house that prints the circuit pathways onto a substrate. The bare boards are then returned to the galaxy projector factory for assembly.
The Motion System: Sourcing High-Quality, Silent Motors
For any projector used in a quiet space like a bedroom, a silent motor is crucial. A key differentiator of the is its motor. Factories producing high-end models source specialized brushless DC motors or stepper motors that are known for their quiet and smooth operation.
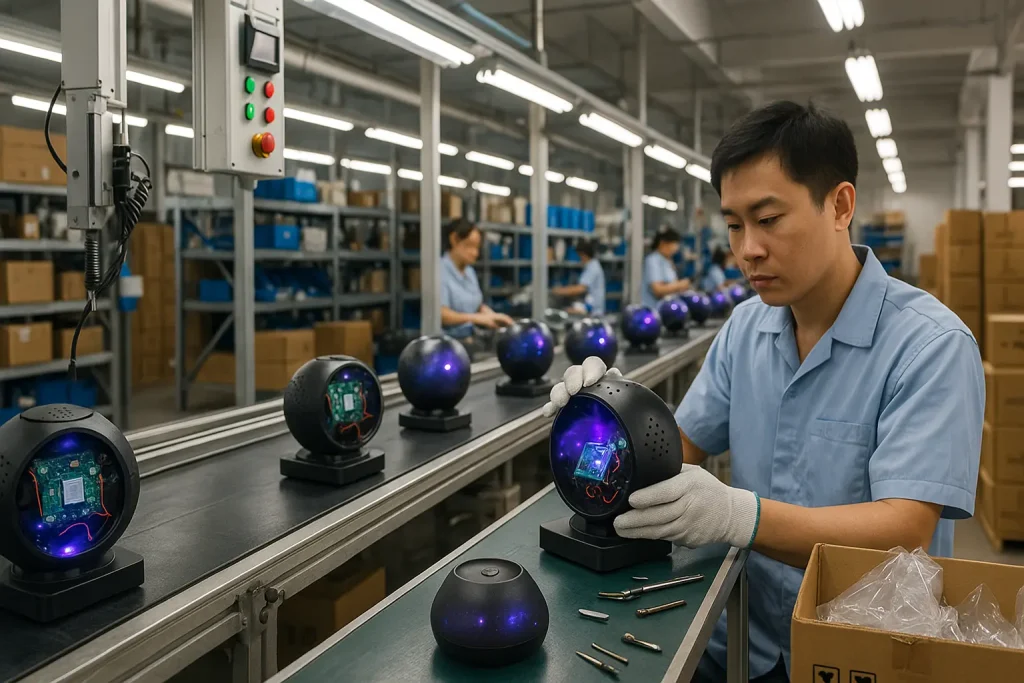
Stage 3: The Assembly Line – Bringing it All Together
Once all the components are ready, they move to the main assembly line. This is a step-by-step process where the projector is carefully built by trained technicians.
Housing Production via Injection Molding
The plastic outer shell of the projector is created using injection molding. Molten plastic is injected into a custom-made steel mold. The plastic cools and hardens into the final shape. This process allows for the rapid and consistent production of complex shapes.
PCB Assembly: Placing Microchips and Components
The bare circuit boards go through a process called Surface Mount Technology (SMT). An automated machine precisely places the tiny microchips, resistors, capacitors, and other electronic components onto the board. The board then passes through an oven that melts the solder paste, permanently fixing the components in place.
Sub-Assembly: Creating the Optical and Motor Modules
In a separate part of the line, technicians create sub-assemblies. The lenses, filters, and light sources are carefully assembled into a sealed optical engine module. The motor is attached to the rotating mechanism. This modular approach improves efficiency and quality control.
Final Assembly: Integrating All Components
During final assembly, all the pieces come together.
- The assembled PCB is installed into the bottom half of the housing.
- The optical engine and motor assembly are mounted and connected.
- The speaker and any other components are added.
- The top half of the housing is attached and secured. The device now looks like a finished projector for the first time.
Stage 4: Quality Control (QC) – The Most Critical Step
Before a projector is packaged, it must pass a series of rigorous quality control tests. This is the stage that truly separates a reliable product from a faulty one and is the main differentiator between a premium model and a .
Optical Testing: Checking for Clarity, Brightness, and Artifacts
Each projector is turned on in a dark room. QC technicians visually inspect the projection on a test surface. They check for:
- Sharpness: Are the stars crisp and in focus?
- Brightness: Does the brightness level match the product’s specifications?
- Artifacts: Are there any dark spots, dust, or blemishes in the projection?
- Color Accuracy: Do the colors appear vibrant and correct?
Functional Testing: Testing Buttons, Remotes, and App Connectivity
A technician tests every function of the device. They press all the buttons on the unit itself. They test every button on the remote control to ensure it works correctly. For smart models, they test the Wi-Fi and Bluetooth connectivity and pair the device with a test app to verify all functions.
Auditory Testing: Ensuring a Silent Motor
Each projector is tested in a sound-dampened booth to check for motor noise. A sensitive microphone measures the decibel level of the device during operation. Any unit that produces an audible hum or whine above a very strict threshold is rejected and sent back for rework.
Burn-In Testing for Long-Term Reliability
A certain percentage of projectors from each batch are pulled for a “burn-in” test. They are left running for an extended period (e.g., 24-48 hours) to test for any potential overheating issues or premature component failure. This helps to ensure the long-term reliability of the entire production run.
Comparing Manufacturing Processes
The process described is for a standalone ambient projector. This manufacturing style is quite different from that of other devices that incorporate projection technology.
Standalone vs. Integrated Projection Systems
A standalone galaxy projector is a modular device. Its components (optics, electronics, housing) are manufactured separately and then assembled. This is in contrast to a highly integrated device where the projector is just one small part of a much more complex system.
The Case of the Samsung Galaxy Beam i8530
A fascinating example of an integrated system was the . This was a smartphone with a built-in pico projector. The manufacturing for such a device is incredibly complex. The tiny projection module had to be engineered to fit within the tight constraints of a phone’s chassis, sharing power and processing with all the other smartphone components. This requires a level of miniaturization and integration far beyond that of a standalone ambient light.
How a Focus on Ambiance Changes Manufacturing Priorities
Because a galaxy projector’s goal is to create ambiance, the manufacturing priorities are different. For the Galaxy Beam, the priority was a bright, clear image for viewing media. For a galaxy projector, the priorities are silent operation, smooth motion, and rich, blended colors. The factory’s entire QC process is built around these atmospheric qualities.
Packaging and Global Distribution
The final stage in the factory is packaging. The finished and tested projector is cleaned and placed into a custom-designed box along with its accessories, such as the power cable, remote, and user manual. The packaging is designed to be both visually appealing and protective enough to survive the journey to the consumer. The products are then boxed into master cartons and shipped from the factory to distribution centers around the world.
From a Blueprint to a Universe in a Box
The journey from a simple idea to a finished galaxy projector is a testament to modern design, engineering, and manufacturing. Each device is the culmination of countless hours of research, prototyping, and meticulous assembly. The magical, effortless display of a starry night on your ceiling is made possible by a hidden world of silent motors, precision lenses, and sophisticated electronics, all brought together on the factory floor.
A deeper understanding of this process gives us a new appreciation for the technology. It highlights the critical importance of quality control and reveals why a well-made projector is a truly remarkable piece of engineering. The next time you turn on your projector and watch the cosmos unfold above you, you will know the complex and careful journey it took from inside the galaxy projector factory to the center of your personal universe.